The #1 AI Studio
The all-in-one Voice & Video Shop
Featured In
Speechify Studio is the first cohesive AI suite for creators
From one-stop shops to teams of creatives, everything is just easier.

Voice Cloning
Create high quality AI clones of human voices within seconds. Nothing to install. Works right in your browser.
Voice Over
Create human-quality voice overs in real time with AI. Narrate text, videos, explainers – anything – in any style.

AI Video Studio
Create and edit video from scratch with our AI tools. Your all-in-one video editing and creation studio.

AI Dubbing
In one click, change your video into any language you pick. Match the speaker’s voice, intonation, and speed.
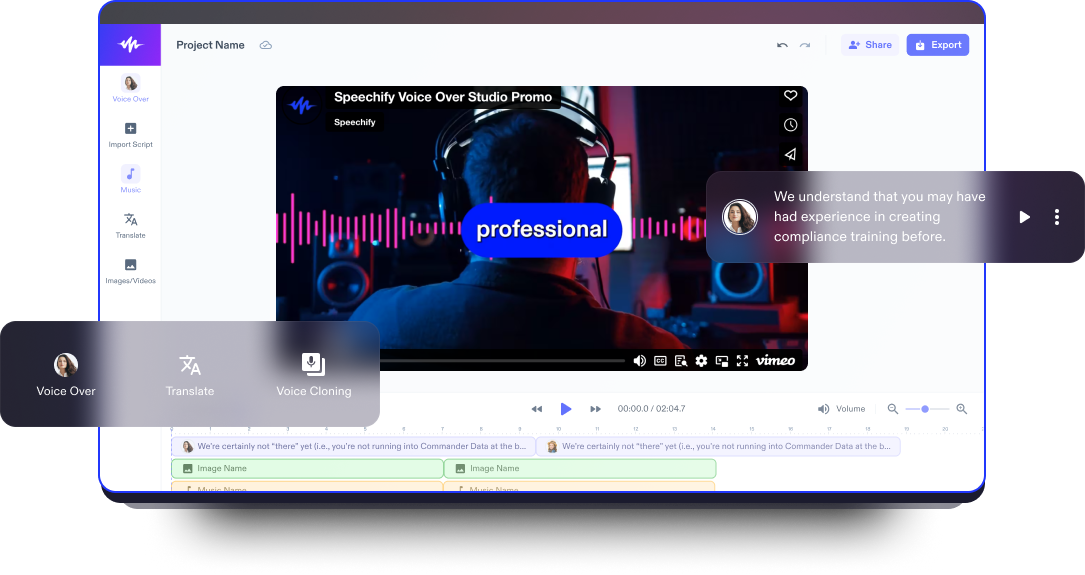
Experience it for yourself
Here’s just a small taste of what you’ll be able to do with Speechify Studio.
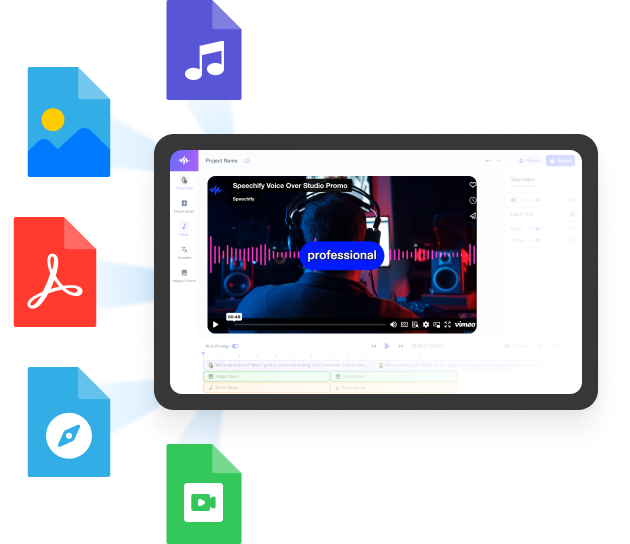
Create voice overs, add royalty free stock images, audio, videos, clone your voice, to create complete, stunning audio video projects.
With a zero learning curve and everything accessible in the browser, content creators can shed traditional limitations and bring to life all their creative ideas.
Large selection of male and female voices with all kinds of accents
No two projects have to sound the same. Choose from 100s of AI voice actors and accents and fine tune them.


Speechify Studio is for teams of all sizes
Speechify Studio makes it easy for creative teams of all sizes. From the one person, do-it-all, to enterprise teams.
Easily manage your team, share assets, collaborate, and get your creative campaigns out quicker than ever before.
Discover More
Speechify Text to Speech API
We’re thrilled to unveil the development of a text-to-speech API that delivers Speechify’s most natural and beloved AI voices directly to developers worldwide.