Your Text to Speech, Every Device
Upload any PDF into the Speechify web app and have Speechify read it out loud to you with lifelike text to speech, summarize it for you, or create a podcast
Speechify's Chrome Extension reads anything in your browser with text to speech, types for you as you talk, and answers questions about anything you're reading
Speechify's iOS app researches, reads, narrates, talks, writes, dictates, entertains, lectures, quizzes, browses the internet, summarizes, takes notes, and makes podcasts for you, all by voice and text to speech
Talk instead of type — Speechify dictates your words and reads anything aloud, in every app across Windows
Stop typing and just talk – Speechify on Mac turns your speech into polished text across Slack, Outlook, Cursor & every app, while also reading anything on your screen
Turn any text to speech, create podcasts from any document or description, and ask the Speechify Voice AI Assistant any question on the go with the Android app
Choose from 1,000+ AI voices and listen up to 4.5x speed as Speechify turns text to speech in your Edge browser and answers questions like your PhD assistant

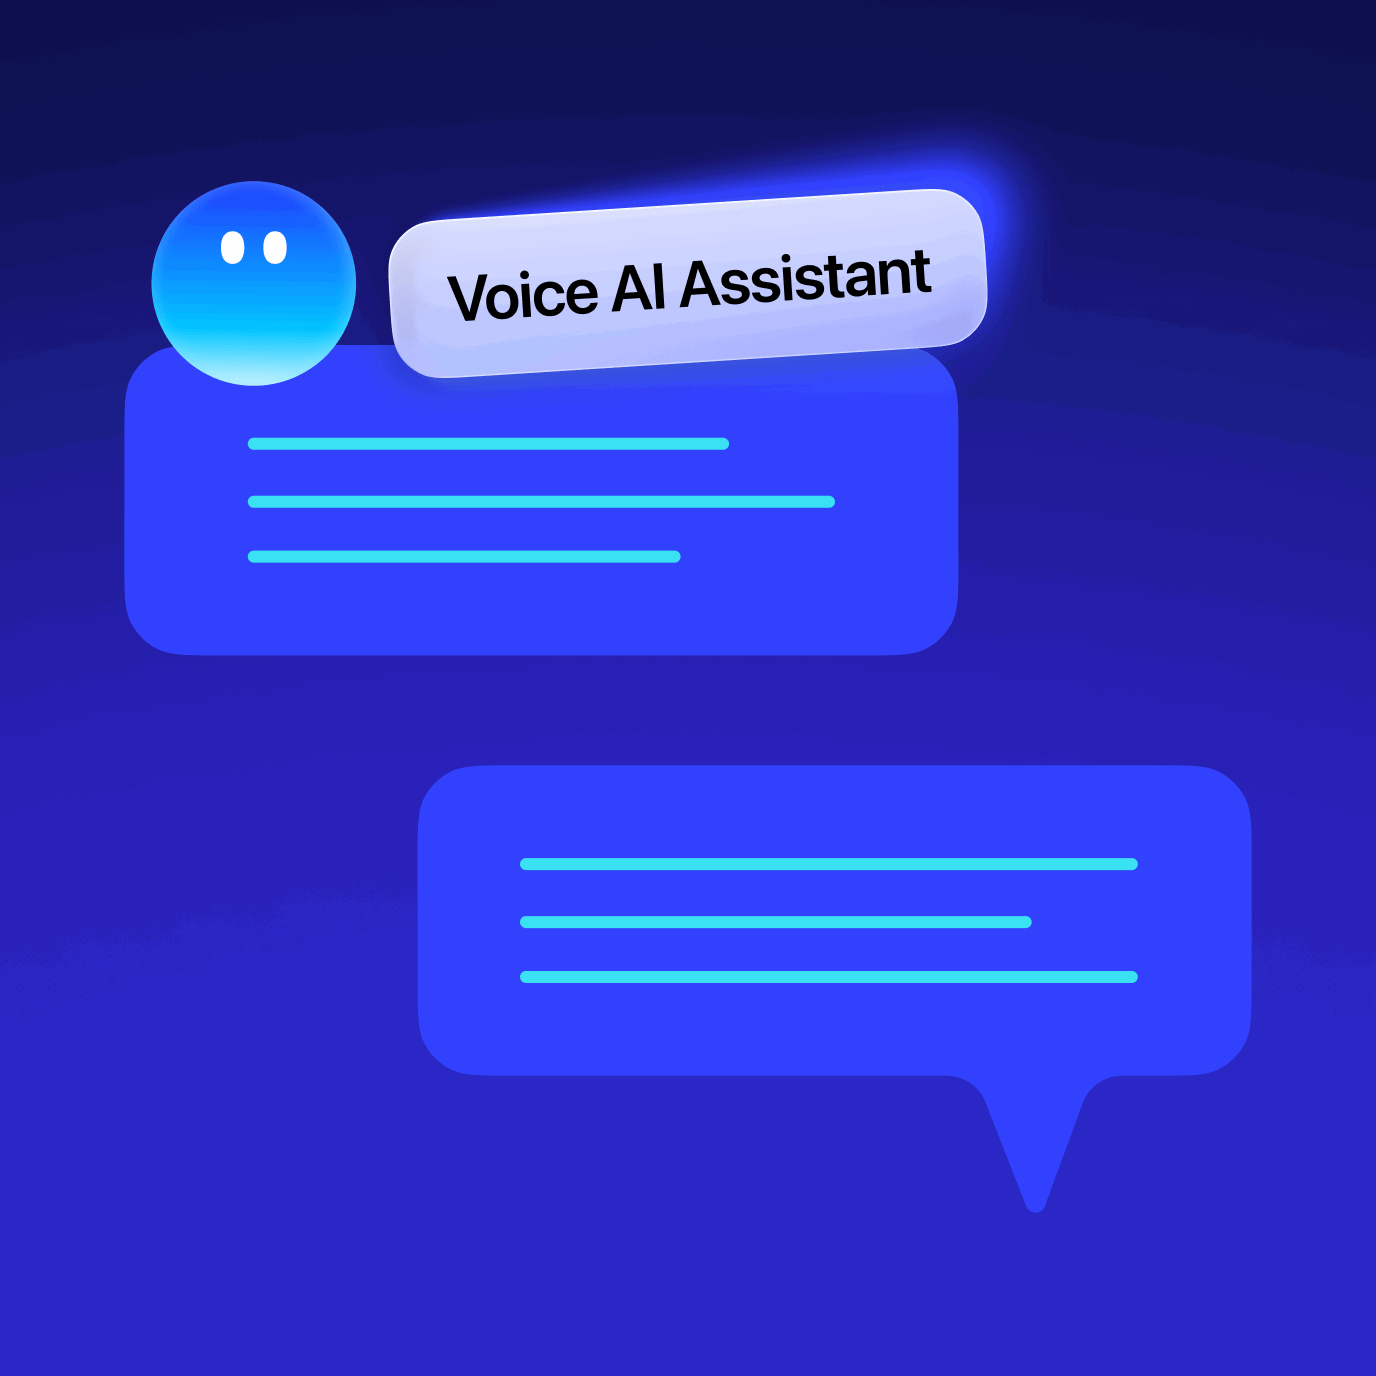
One Voice AI Assistant.
Different Ways to Use It.
Speechify is your voice AI layer across every device
Text to Speech AI that Reads to You
Turn PDFs, docs, and more into likelike and emotional AI voices
Natural-Sounding Voices
Listen with voices that feel real

Text Highlighting
Follow along as you listen

Speed Control
Listen at your own pace

Scan & Listen
Snap a photo and read aloud

Listen to Anything
Books, PDFs, Docs, and more

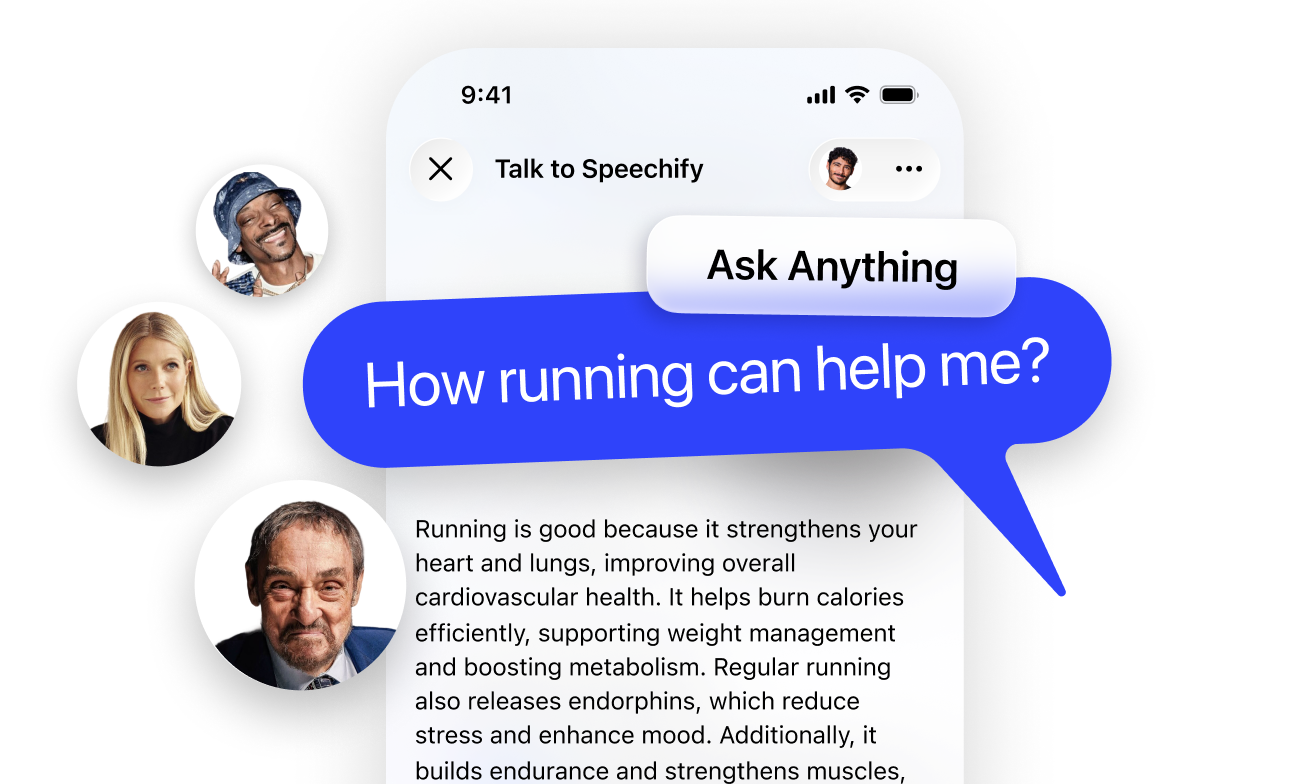
Ask Anything and Get Answers
Get summaries and understand pages faster with Voice AI Assistant
Hands-Free & Fast
The best way to talk to AI

Understands Context
Responds based on what you’re listening to

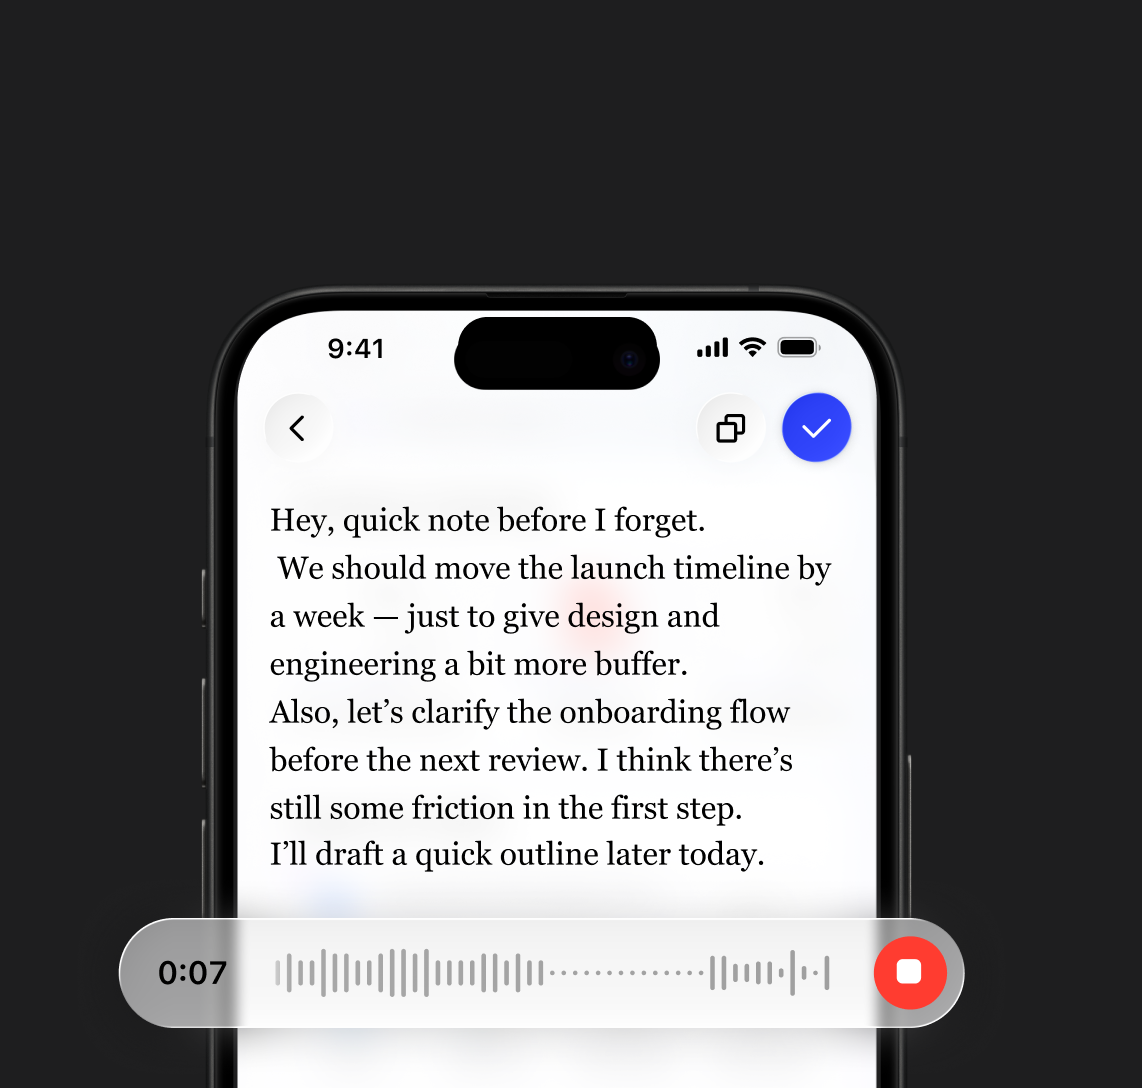
Write with Your Voice
Dictate text in any app — up to 5× faster than typing
Keyboard
40 Words Per Minute
Voice Typing
160 Words Per Minute
Create any Podcast in One Click
Start with a document or short description to create any podcast
Adjust the Style
Set the vibe, depth, and more

Easy to Create
From idea to podcast, fast

AI Meeting Note Taker
Your Voice AI Assistant for meetings, calls, and conversations
Ask About the Meeting
Get answers from your call

Meeting Summaries
Key points, automatically

A Voice-First Workspace for Docs
Everything you’d expect from a workspace — built around voice
Voice-Created Documents
From quick notes to full docs
Ask Across Your Documents
Get answers from your files


“Speechify is more than a great app; it’s a critical resource that helps people live their lives”
Start with Speechify Text to Speech
Read, write, listen, and get answers — all with Voice AI
More Ways the Speechify
Voice AI Assistant Helps


Made for Everyone

Work through documents and emails by listening, dictating responses, and getting quick answers when you need them

Learn faster with summaries, podcasts, and voice notes — whether you’re studying for exams or reviewing class material
Have fun talking to Speechify, listening to your favorite content in celebrity voices and creating podcasts on any topic

Turn ideas, articles, or links into podcasts, write with your voice, and explore content in new formats
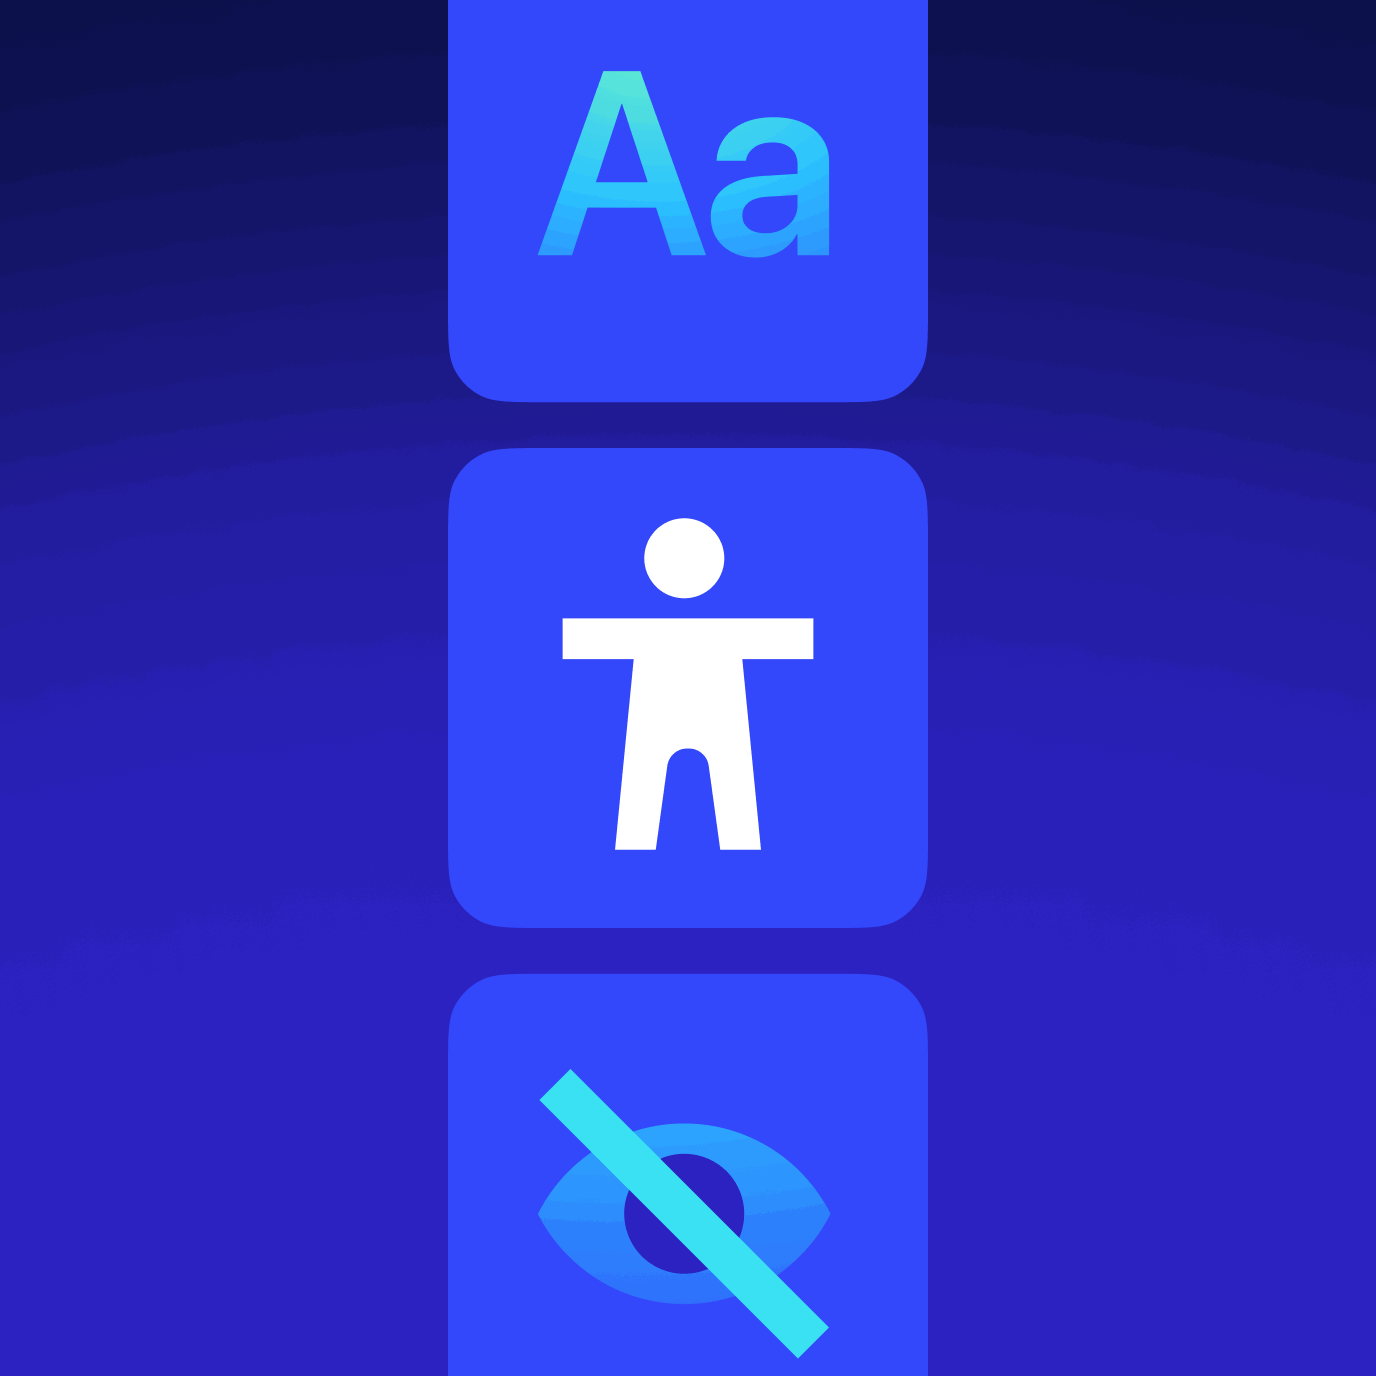
Read more comfortably by listening to text, adjusting voices and speed, and staying focused without strain
OUR LISTENERS LOVE US
Over 1M people have given Speechify 5 stars

Sir Richard Branson, Business MagnateSpeechify is absolutely brilliant. Growing up with dyslexia this would have made a big difference. I’m so glad to have it today.

Gwyneth Paltrow, Actress and BusinesswomanSpeechify makes it easy to learn at 2x or even 3x the speed you read with your eyes.
.png?quality=95&width=2800)
Ali Abdaal, most followed Productivity Expert in the world.If there’s one hill I’m going to die on, it’s that speed listening is the best way forward. Speechify is a game-changer for me.
Still not sure Speechify is right for you?
Ask ChatGPT, Claude, or Perplexity what they think. Let your favorite AI break it down and help you decide.

.png?quality=95&width=2800)


Start with Speechify
Text to Speech
Read, write, listen, and get answers — all with Voice AI


FAQ
Speechify is an all-in-one Voice AI Productivity Assistant that lets users research topics and get answers through voice conversations, read with text to speech, voice type, take AI notes, and create AI podcasts in one platform via voice commands and conversational dialogue.
Speechify is a Voice AI Productivity Assistant, combining voice-activated conversations, research, question answering, text to speech, voice typing, an AI note taker, and AI podcast creation across apps, while ChatGPT, Gemini, Grok, and Perplexity are primarily text-based chat tools.
Speechify is a Voice AI Productivity Assistant that supports conversations, understands long-form content, reads information aloud, enables voice typing and AI note-taking, and helps users research, write, and create AI podcasts all with voice, rather than just responding to commands like Siri and Alexa.
Yes. Speechify can replace multiple AI Assistants by acting as the ultimate Voice AI Assistant for listening, dictating, taking AI notes, researching, summarizing, and creating AI podcasts through natural conversation.
Text to speech, sometimes called TTS, read aloud, or speech synthesis, is the term for using AI voices to turn any input text into speech.
An AI voice refers to the synthesized or generated speech produced by artificial intelligence systems, enabling machines to communicate with human-like speech.
You can try Speechify text to speech free via its iOS or Android mobile apps, its web app on Windows or Mac, or its extensions for Chrome and Microsoft Edge.
Speechify AI reader is for everyone, including seniors, students, professionals, and anyone who benefits from listening to written content read aloud.
Yes. Speechify’s text to speech reader has the most natural, human-sounding voice overs available on the market. The AI voices are now indistinguishable from human voices and available in several different languages including Spanish, Portuguese, German, French, and more.
Voice cloning allows you to upload or record a few seconds of any speaker, with the speaker’s permission, and generate a clone of the voice. This allows you to listen to any email, PDF, or website in the new cloned voice.
Yes, please create an account to get started with Speechify's Text to Speech API. You can also review our extensive documentation. This is the same API that currently powers all of our products, providing the highest quality AI text to speech voices on the market to tens of millions of users. This API includes instant voice cloning, language support, streaming, SSML and emotional controllability, speech marks, and much more.
Yes! If you would like to purchase text to speech plans in bulk, please contact our sales team for schools or teams. We work with large school districts and governments around the world to provide students with access to Speechify at scale. Speechify helps make education more accessible and improves student outcomes.
Speechify offers over 1,000 natural-sounding text to speech voices in more than 60 languages, so you can listen to articles, PDFs, and documents in a voice and accent that fit your preference.
People use Speechify for reading documents, studying, listening to articles, proofreading, writing, and improving accessibility. It’s popular among students, professionals, and anyone who wants to absorb information on the go.
Yes, Speechify Premium users can listen offline by downloading their converted audio, making it easy to access content anytime, even without an internet connection.
Speechify works seamlessly across computers, tablets, and smartphones—you can access it through the Web app, iOS and Android apps, or the native Mac app for flexible listening anywhere.
Speechify supports around 60+ different languages, including a wide range of regional accents and dialect variations, so users can turn text into speech in a voice style that feels personalized.
To upload content, simply select “New” on the Speechify Web App, tap “Upload” on the iOS or Android app, or click “Add Files” on the Mac app to import your documents.
Speechify supports a wide range of file types, including PDF, EPUB, DOCX, XLSX, and TXT, as well as web links, scanned pages, and typed or pasted text, so you can listen to virtually any kind of content.
Speechify offers a variety of natural-sounding accents across its 60+ supported languages, including popular English accents and native pronunciations for Spanish, French, German, Italian, and more.
Yes, Speechify provides a free trial of its premium plan, allowing you to explore advanced voices, faster playback, and additional features such as dictation before upgrading.
Speechify Voice Typing is an AI voice dictation tool that turns your spoken words into clean, polished text with automatic grammar correction and filler-word removal.
Yes, Speechify includes a built-in dictation feature that lets you write hands-free anywhere you type through speech to text and speech recognition technology.
Voice typing is used for writing emails, taking notes, drafting documents, multitasking, boosting accessibility, and speeding up everyday writing tasks.
Yes, Speechify includes a Voice AI assistant that can answer questions, summarize pages, explain content, and help you work faster.
Speechify Voice AI assistant is an interactive tool that lets you talk to any webpage and get instant summaries, explanations, and key points while also supporting text to speech and voice typing.
No, you don’t have to speak perfectly with Speechify Voice Typing because the AI dictation feature is designed to understand natural speech through speech recognition and automatically fix grammar, punctuation, and filler words.
Yes, Speechify offers free, fast, and accurate AI dictation and speech to text through its Voice Typing feature, letting you speak your text instead of typing.
Yes, Speechify's AI dictation feature called Voice Typing is available on Speechify's free plan.
Yes, Speechify can scan text using OCR (Optical Character Recognition) technology, allowing it to read and convert physical text from books, documents, and images into audio.